If you’ve ever wondered why computers behave the way they do, not just how to use them, but how they actually work under the hood, then this is the video for you.
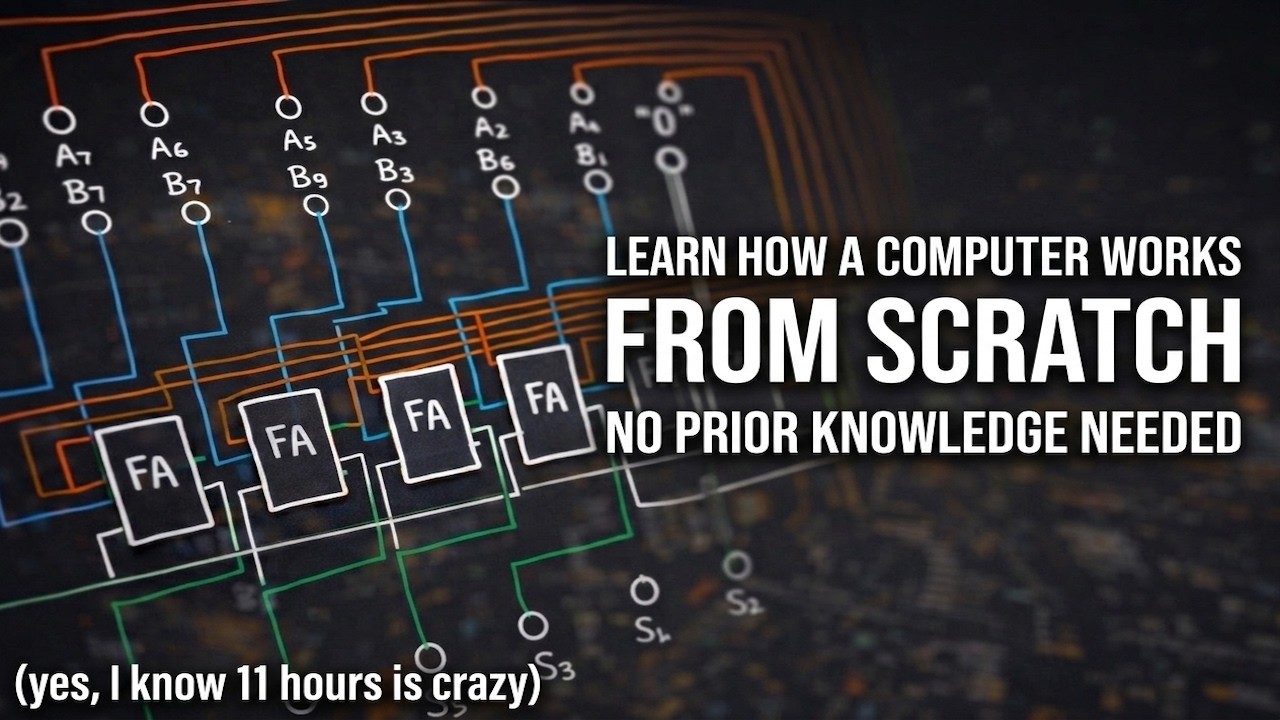
We start with understanding what people say when claiming that “computers speak in 0’s and 1’s”. We’ll then learn how computers understand numbers, how we can build circuits to add numbers, and eventually scaling this up to building an entire processor from scratch, leaving no questions unanswered. To end the video, we’ll take a look at the CPU of the original iPhone, and write some code in that processor’s “language” that we can run on a real processor! This is the video that I wish had existed when I first set out to learn how computers actually work. No prior knowledge necessary.
Website I mention in the video which has more examples: https://github.com/milen-patel/cpu_tutorial
ROM Information from 07:53:27
Chapters:
00:00:00 – Introduction
00:06:24 – How Humans Represent Numbers (Decimal)
00:18:24 – How Computers Represent Numbers (Introduction to Binary)
00:31:38 – Converting from Decimal to Binary (Human-mode to Computer-mode)
00:46:16 – How does addition work in binary?
00:56:45 – Representing Negative Numbers in Binary
01:09:09 – How to Negate a Number in Binary
01:11:35 – How does subtraction work in binary?
01:16:45 – Introduction to Logic Gates
01:32:19 – Constructing a circuit out of logic gates
01:37:31 – Building a selector with logic gates
01:53:10 – Using logic gates for simple addition of binary numbers (Half-Adder)
02:03:41 – Where the half adder falls short
02:07:14 – Constructing a full adder for correct addition of binary numbers
02:25:36 – Chaining Adders together for multi-bit addition
02:43:46 – Building a full 8-bit addition circuit (ALU)
02:56:05 – Enabling subtraction in our circuit
03:19:57 – Introduction to Sequential Logic
03:27:34 – Storing Data with Logic Gates (Latches)
03:52:52 – Introducing the Flip-Flip, a better Latch
04:09:48 – Bridging back to the ALU
04:11:59 – Saving the output of our ALU
04:20:20 – Manipulating the ALU to build a circuit that counts numbers
04:26:19 – Random Access Memory (RAM)
04:55:26 – Building RAM from Logic Gates
05:18:50 – Connecting RAM and the ALU
05:20:56 – Introducing the BUS
05:40:25 – Adding a display to our computer (7 Segment Display)
05:57:12 – Read Only Memory (ROM)
06:07:52 – Making our display stateful
06:28:55 – What happens when we start chaining operations?
06:32:30 – What are Instructions?
06:34:46 – The Instruction Register
06:39:12 – Building the first Instruction for our CPU
06:55:31 – Synchronizing the computer, introduction of the Clock
07:05:00 – Program Counter
07:13:03 – Clock Timing of Our First Instruction
07:19:37 – Designing the Instruction Set Architecture (ISA)
07:29:09 – Branching in Code
07:34:37 – Adding a Flags Register to the ALU
07:48:10 – Introducing Control, the “Brains” of our computer
07:53:27 – Implementing Control as ROM
08:14:15 – In Detail Timing of Each CPU Instruction
09:01:40 – How Condition Instructions are Implemented
09:15:15 – Writing our First Computer Program!
09:29:11 – Executing our First Program
09:44:29 – Counting Fibonacci Sequence on our Computer
10:13:12 – Physically constructing our conceptual computer
10:21:10 – Naming and History of Computer (SAP)
10:27:20 – The original iPhone processor
10:43:12 – ARMv6 Overview
10:57:31 – Hexadecimal Mini-Course
11:04:06 – How does our CPU draw to a screen? (Introduction to MMIO)
11:14:00 – Looking at a real micro-controller
11:17:44 – Programming our computer to turn on a light
11:47:49 – Running our code on the computer
11:49:55 – Where I would continue if we had more time
11:53:26 – Conclusion